More Exciting Adventures From The Goaty Works!

Page 2 of 4 [ 63 posts ]  Go to page Previous  1, 2, 3, 4  Next

Mountain Goat
Veteran
Veteran

Joined: 13 May 2019
Gender: Male
Posts: 14,696
Location: .

12 Jun 2024, 7:07 am

The centre pair of wheels had their flanges ground off to assist the loco round my sharp curves...

Image

Image


Mountain Goat
Veteran
Veteran

Joined: 13 May 2019
Gender: Male
Posts: 14,696
Location: .

12 Jun 2024, 7:11 am

Image

The body was raised in height slightly as well as being milled out, and a test fit of the parts was completed.

Image


Mountain Goat
Veteran
Veteran

Joined: 13 May 2019
Gender: Male
Posts: 14,696
Location: .

12 Jun 2024, 7:17 am

More work milling and shaping getting things to come together so that they fit.

Image

Image

Image


Mountain Goat
Veteran
Veteran

Joined: 13 May 2019
Gender: Male
Posts: 14,696
Location: .

12 Jun 2024, 7:22 am

Image

And progress commences. A new raised cab floor shaped and added...

Image

And the steps thinned and strengthened where needed to fit my loading gauge so the loco can fit my lifting cradle.

Image

Image


Mountain Goat
Veteran
Veteran

Joined: 13 May 2019
Gender: Male
Posts: 14,696
Location: .

12 Jun 2024, 7:30 am

The cab gradually built up and painted as it isalways easier to paint inside parts before one has finished building.

Image

And internal cab fittings added made from pins and things....

Image

And cut to size to represent switches and controls...

Image

And that is the front and sides of the cab completed.
(I glued on the rear step later).

Image


Mountain Goat
Veteran
Veteran

Joined: 13 May 2019
Gender: Male
Posts: 14,696
Location: .

12 Jun 2024, 7:35 am

The rear of the cab was fitted and the fuel tank at the back had to be reduced in width so it does not overhang the chassis and bufferbeam...

Image

And a look at the front... With window surrounds painted. (These will be touched up later).

Image


Mountain Goat
Veteran
Veteran

Joined: 13 May 2019
Gender: Male
Posts: 14,696
Location: .

12 Jun 2024, 7:45 am

Also fitted the windows after the black surrounds were painted, and now we are ready for paint!

Origionally I bought a lovely tin of metallic green but the paint was a dud batch depite its price and came out like water, so a re-think was needed.... British Railways blue was used instead as I had that colour!

Image

And after a few coats it has turned out like this!

Image

This is as far as I got as I was awaiting to add people before I added the roof and then add the buffers and couplings.


Jakki
Veteran
Veteran

User avatar

Joined: 21 Sep 2019
Gender: Female
Posts: 11,392
Location: Outter Quadrant

12 Jun 2024, 11:23 am

Is nothing safe in the Goaty model railway works.. Your poor mum, now she probably th8nks yoour house has giant dishcloth eating Moths? :D

Lovely piks of your Locos....... :mrgreen: :mrgreen: ,ty for sharing


_________________
Diagnosed hfa
Loves velcro,
Quote:
where ever you go ,there you are


Mountain Goat
Veteran
Veteran

Joined: 13 May 2019
Gender: Male
Posts: 14,696
Location: .

12 Jun 2024, 3:25 pm

I came across these farmyard boxes intended for kiddies to play with.

Image

And as they were just the right size for old cast metal bogies, I did find due to the old bogies having been made some 60+ years ago, so they only occasionally can be found on old wagons, I decided to make copies instead (More on how to do this later). So with copies made out of resin for the axleboxes, I was now able to start making little waggons.

Image

Now another thing I soon discovered was that I can cut these boxes in half and make two for every one, as there is just the exact number of parts when partly dissasembled so I can do this, making these six pack of farmyard boxes to be of reasonable value when made into twelve little waggons.

Image

Image

Image

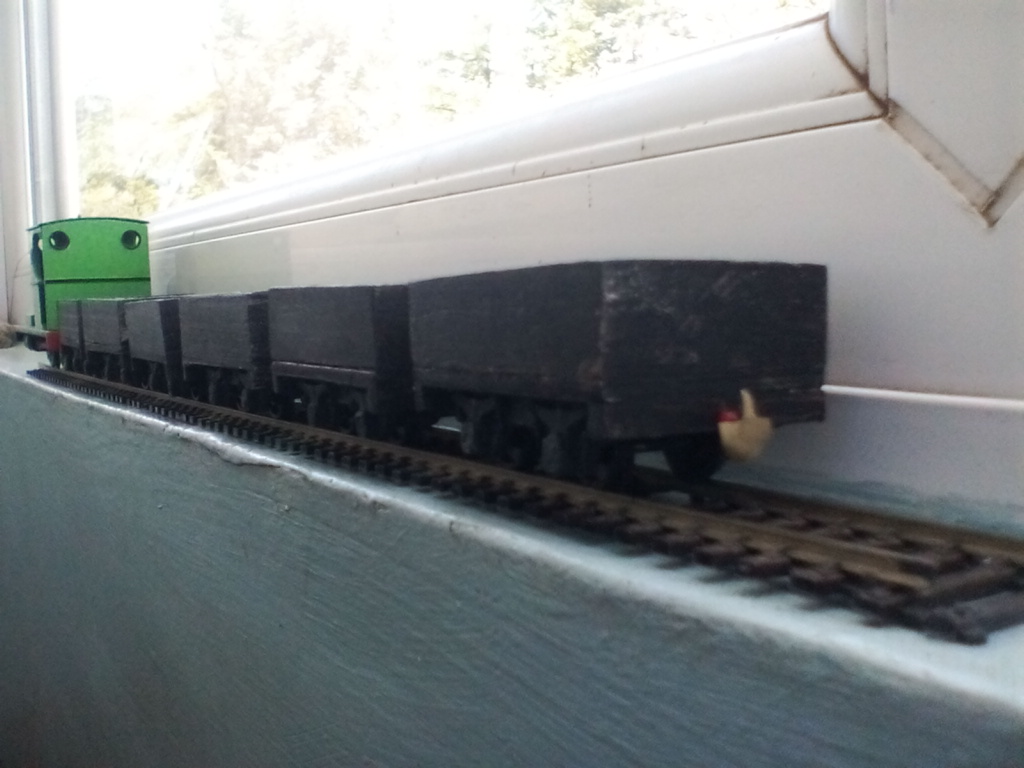
So next came to painting them and I wanted a semi battered look, as if they were fairly new but had gone through their paces.
I har at the time run out of matt grey paint, and as the black paint I had was a little too glossy, by patting the paint lots of times with my fingers, it soon gave me the matt and battered look that I wanted.

Image

Image

Image


Jakki
Veteran
Veteran

User avatar

Joined: 21 Sep 2019
Gender: Female
Posts: 11,392
Location: Outter Quadrant

12 Jun 2024, 4:26 pm

Good Job of Battering ..those boxes... :) :) :D .
At the rate you seem to be going MountainGoat....You might be in line to start making Hobby Trainsets..?
:mrgreen:


_________________
Diagnosed hfa
Loves velcro,
Quote:
where ever you go ,there you are


Mountain Goat
Veteran
Veteran

Joined: 13 May 2019
Gender: Male
Posts: 14,696
Location: .

12 Jun 2024, 4:28 pm

Jakki wrote:
Good Job of Battering ..those boxes... :) :) :D .
At the rate you seem to be going MountainGoat....You might be in line to start making Hobby Trainsets..?
:mrgreen:


Haha! That would be fun! :D


Jakki
Veteran
Veteran

User avatar

Joined: 21 Sep 2019
Gender: Female
Posts: 11,392
Location: Outter Quadrant

12 Jun 2024, 5:48 pm

Just think of all the little kiddies at Christmas time....... :santa:


_________________
Diagnosed hfa
Loves velcro,
Quote:
where ever you go ,there you are


Mountain Goat
Veteran
Veteran

Joined: 13 May 2019
Gender: Male
Posts: 14,696
Location: .

12 Jun 2024, 6:16 pm

Jakki wrote:
Just think of all the little kiddies at Christmas time....... :santa:


Too highly regulated with kiddies.


Jakki
Veteran
Veteran

User avatar

Joined: 21 Sep 2019
Gender: Female
Posts: 11,392
Location: Outter Quadrant

12 Jun 2024, 7:31 pm

Mountain Goat wrote:
Jakki wrote:
Just think of all the little kiddies at Christmas time....... :santa:


Too highly regulated with kiddies.


Maybe good for Adults too... :D ..... :D ........ :D ..... 8O .
And looks like your overhead for Production would be Low.. 8)


_________________
Diagnosed hfa
Loves velcro,
Quote:
where ever you go ,there you are


Mountain Goat
Veteran
Veteran

Joined: 13 May 2019
Gender: Male
Posts: 14,696
Location: .

25 Jun 2024, 5:00 am

I am thinking of practical ways to make wheels.


Jakki
Veteran
Veteran

User avatar

Joined: 21 Sep 2019
Gender: Female
Posts: 11,392
Location: Outter Quadrant

25 Jun 2024, 8:51 pm

make a negative casting of one of your bogie wheels in clay let it get hard, even baking them .Very slowly , so not to crack.
The use/ mix some Superglue and baking soda, and put some casting release spray of some kind, or improvised release spray ? Fill the negative casting allow days to dry. And remove somehow to get the formed bogie to release.
But this is just an idea .??. :D ..Good luck Mountaingoat .
Or check online for something from ebay or AliBaba? or elsewhere , made of wood or ?

Even a type of handheld feed through a heating pen to liquefy .the plastic feed line of hot glue , into the casting?
Seen these devises on ali baba. They use the same plastic line as 3 d printers. or a hot glue gun ?


_________________
Diagnosed hfa
Loves velcro,
Quote:
where ever you go ,there you are